

Over the years many people have taken to using their iPads as an entertainment platform of sorts, due to how convenient and portable they are as well as their crisp and clear high-resolution displays.
With countless apps offering access to TV shows, movies, and other video streams – you’re certainly not going to be wanting in terms of content.
That being said if you want to save videos from your iPad screen to watch them later – you may run into issues. Simply put there is no way to record your iPad screen directly without jailbreaking it – so your best bet is to use third-party software such as Movavi Screen Capture Studio for Mac to do so.
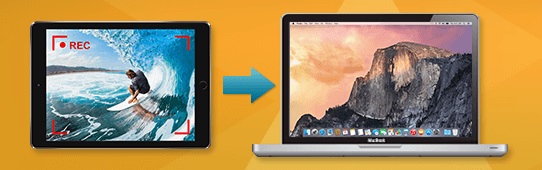
Essentially Movavi Screen Capture Studio for Mac will provide you with a simple way to record videos from your iPad screen by using your Mac. All you need is the software itself, along with the standard lightning-to-USB cable so that you can connect your iPad to your Mac.
When you want to use Movavi Screen Capture Studio for Mac as an iPad screen recorder, just launch it and select ‘Record screencast’ in the menu. When you do that the screen capture module will open, and you can proceed to connect your iPad to your Mac using the lightning-to-USB cable.
Assuming the connection was successful, you’ll see a small ‘mobile device’ icon marked with a green tick in the ‘Capture Area’ section of the Movavi Screen Capture Studio for Mac interface. Once you see that, you can open up the ‘Capture Area’ list and select your device while also choosing whether you wish to record footage from it in ‘Portrait’ or ‘Landscape’ orientation.
By default, the ‘System Audio’ icon in Movavi Screen Capture Studio for Mac should also have a green tick on it – indicating that audio from your iPad will be captured as well. If none is present for some reason and there is a red cross instead – click on it once.
That is really all that you need to set up, and when you’re ready you can start recording by clicking ‘REC’. If you wish to record video footage that is playing on your iPad, be sure to play the video within the 5-second delay before the recording commences. At any time you can use the ‘Stop’ or ‘Pause’ buttons to control the recording or use the hotkeys in Movavi Screen Capture for Mac as well.
When you do decide to ‘Stop’ the recording, you can go over the footage and save it immediately if you choose. Alternatively, you could open it up in the built-in editor in Movavi Screen Capture for Mac and use the features available to cut and join video segments, apply special effects, insert captions, add audio tracks, and much more.
Make no mistake with this method of recording videos from your iPad’s screen you can capture anything and everything you require. In short, you could even use Movavi Screen Capture Studio for Mac to create your own video tutorials for iPads, or simply record any other content you’d like to save.

 Review")
 launches the wireless OMNIS-DUO portable all‑in‑one DJ system")


 Can Skyrocket Your Business")


