
Nail polish and nail decoration have been going on for centuries. It’s one of the most popular ways for people to express themselves and to show off their style.
However, for many, applying gel nail polish can be a tricky process!
Thankfully, modern gel polishes have made it easier than ever before to get the perfect manicure without the fuss. In this guide, we’ll explain how to apply gel nail polish like a pro so you can enjoy your finished look with confidence every time.
What You’ll Need For A Perfect Gel Polish Manicure
Before you start, it’s important to have all the tools and materials you’ll need for successful gel nail polish application. Here is a list of what you should have close by:
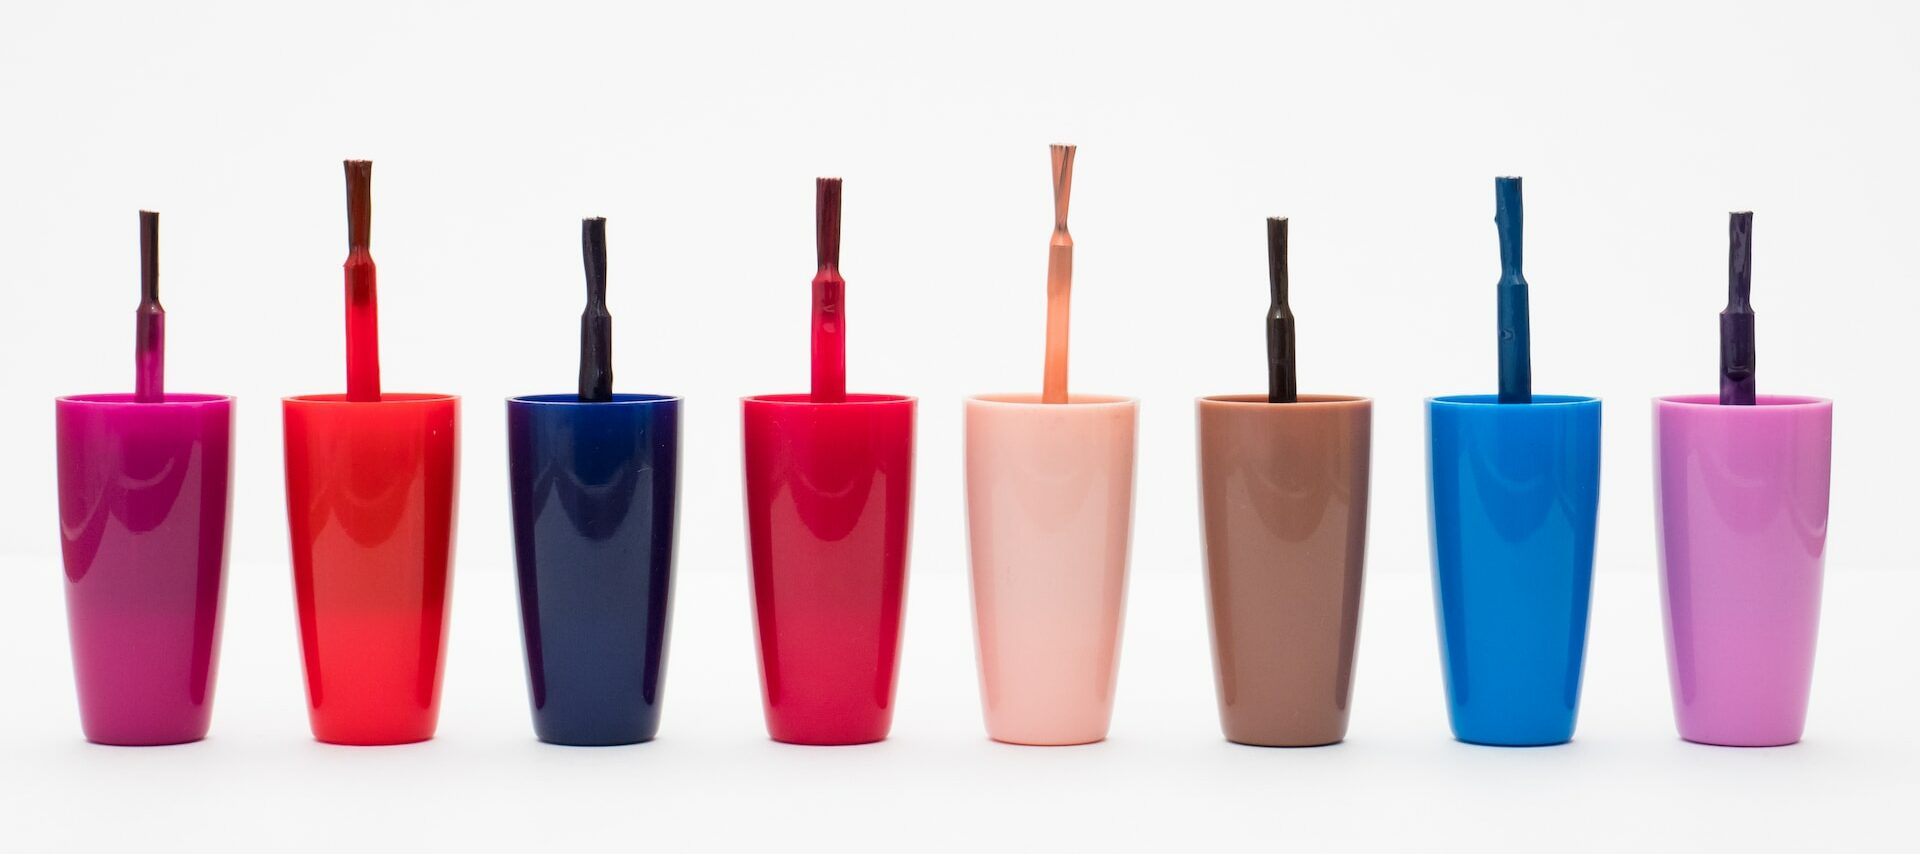
- Gel nail polish of your choice
- Base coat and topcoat specially designed for use with gel polishes
- Nail files of varying grits
- Nail buffer block for smoothing out the nail surface
- A cuticle pusher or cuticle oil
- Lint-free wipes
- UV lamp or LED lamp (if curing with a lamp)
Preparing Your Nails For Your Gel Manicure
Once you’ve gathered all the necessary tools, it’s time to prep your nails.
Start by washing your hands and pushing back the cuticles gently. You can use a cuticle pusher or some cuticle oil to soften the cuticles and make them easier to move.
Next, file your nails into the shape you desire. A square is a great choice for gel polishes since it helps keep the polish intact during wear. Sqoval nails are another on-trend nail shape you might want to try.
When you start your nail shaping, use a fine-grit nail file to get an even shape on all of your nails.
Applying The Gel Nail Polish
Now that your nails are prepped and ready, it’s time to get started on the actual application. Begin by shaking the gel polish bottle so all the pigment is evenly mixed.
Apply a base coat and cure it with either a UV or LED lamp according to the instructions of your product. Make sure you cure each nail individually to ensure they are all completely dry throughout the process.
Once the base coat is cured, it’s time to apply your gel nail colour of choice! Paint on a thin layer and evenly spread the polish with an up-and-down stroke using your brush. Cure each nail for 20 seconds or according to instructions, and then repeat the process until you reach your desired opacity.
When finished, apply a topcoat to give your nails extra shine, protection, and help them last longer. Once again, cure each nail for 20 seconds or according to instructions before moving on to the next one.
With the right practice, you’ll be able to apply gel polish perfectly every time!
Wrapping Up Your Manicure
To finish up your professional-looking manicure, use a lint-free wipe to remove any excess tackiness.
Voila! You’re all set with perfect gel nails created by you without the need for a trip to the salon. Enjoy your beautiful manicure and show it off with confidence!
Tips On How To Remove Gel Nail Polish
When the time comes to remove your gel nails, make sure you do it the right way!
The best way to remove gel nails is by soaking them in an acetone solution for 10-15 minutes, then pushing the gel off of each nail with a cuticle stick.
Once all the gel polish has been removed, use a nourishing oil or cream to moisturise your nails and hands afterwards. This will help keep them looking healthy and strong.
Now you know how to apply your own gel nail polish like a pro, you can enjoy experimenting with new colours and designs or sticking to the classics – the choice is yours! Have fun!